

Are you a car enthusiast looking to build your own model of a V8 engine? Building a V8 engine model kit can be a rewarding endeavor, but it requires preparation and knowledge. In this blog, we’ll cover everything you need to know before you build a V8 engine model kit. We’ll go over the different types of kits available, the steps involved in building the engine, and the tools you’ll need to complete the project.
What Are V8 Engine Model Kits?
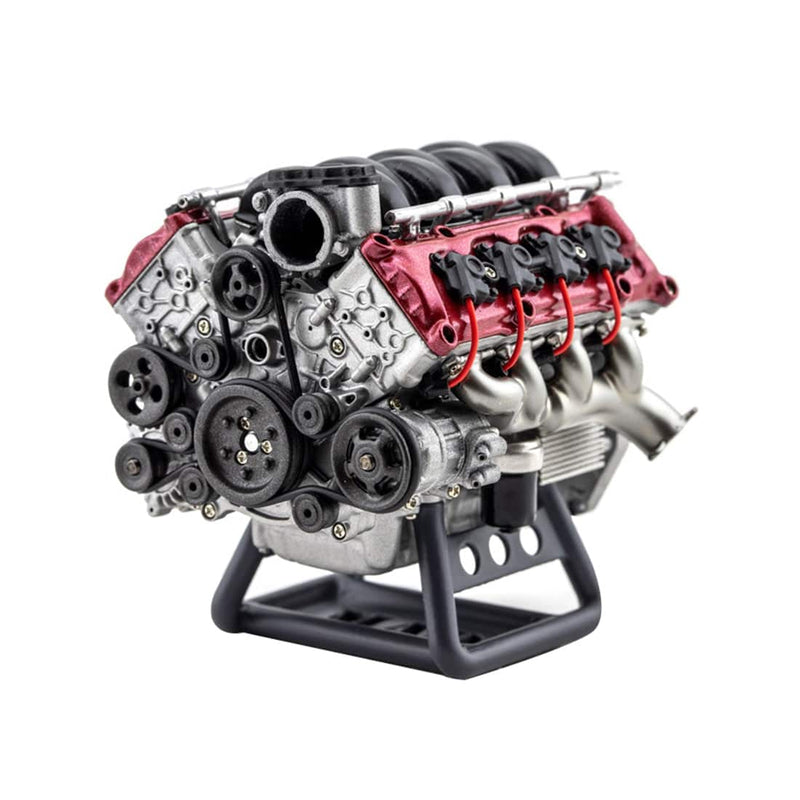
V8 engine model kits are scale models of actual V8 engines. These model kits allow you to build a miniature version of the actual engine. Most kits come with detailed instructions and all the parts needed to assemble the engine. The kits are typically made of plastic, metal, or wood, depending on the manufacturer. Some kits are even RC-ready, allowing you to take your model engine for a spin.
Types of V8 Engine Model Kits
1. Plastic Model Kits: Plastic model kits are a great way to build a replica of a V8 engine. These kits are often pre-painted and come with step-by-step instructions. The parts are usually snap together, making them easy to assemble. I recommend MAD RC V8
2. Wooden Model Kits: Wooden v8 model kits are a great way to build a V8 engine from scratch. The parts are usually hand-crafted and the instructions are more detailed than those found in plastic model kits.
3. Radio-Controlled Model Kits: Radio-controlled v8 engine model kits are an excellent option for those who want to build a V8 engine from scratch. These kits come with all the necessary components for building a remote-controlled V8 engine and can be customized with various accessories. These models are usually RC-ready, meaning you can attach a remote control and make the engine run.
4. Metal Model Kits: Metal v8 engine model kits are a great way to build a replica V8 engine from scratch. These kits are typically more expensive than plastic and wooden models, but they are also more durable and look more realistic.
Tools Needed to Build a V8 Engine Model Kit
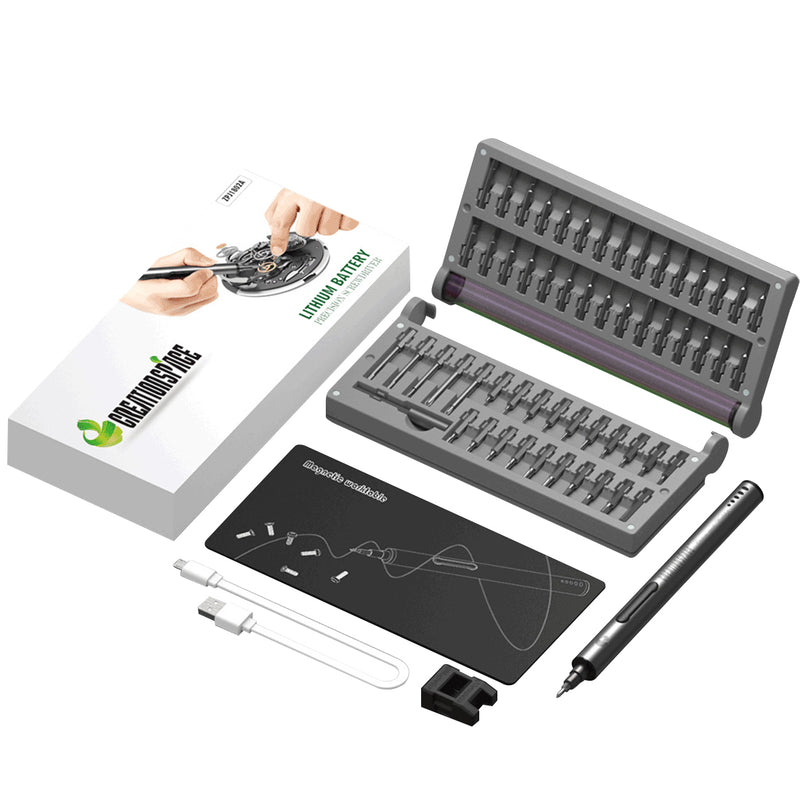
Building a V8 engine model kit is a great way to learn about the inner workings of a V8 engine. It can also be an enjoyable hobby for anyone who enjoys tinkering with mechanical parts. Before you begin building a V8 engine model kit, you will need to gather the necessary tools. The tools you’ll need vary depending on the type of kit you’re building. For static models, you’ll need a set of pliers, a small screwdriver, and a pair of tweezers. For dynamic models, you’ll need a soldering iron, a pair of needle-nose pliers, a small screwdriver, and a pair of tweezers. For hybrid models, you’ll need a set of pliers, a soldering iron, and a pair of tweezers.
The first tool needed to build a V8 engine model kit is a set of small screwdrivers. You will need a variety of sizes and shapes to work around the small parts and screws used in the model kit. It is important to use the correct size and type of screwdriver to prevent stripping the screws and damaging the parts.
The next tool you will need is a pair of small pliers. Pliers are necessary to help with the assembly of the model kit as they will be used to help hold and bend small wires and other parts. You may also need a pair of needle-nose pliers for more delicate work.
The next tool you will need is a pair of wire cutters. Wire cutters are needed to cut the small wires and other parts included in the model kit. It is important to use the correct size and type of wire
The next tool you will need is a set of small files. Files are needed to smooth down any rough edges on the parts before assembly. It is important to use the correct size and type of file to ensure a smooth finish.
The last tool you will need is a set of small drills. Drills are needed to create holes for the screws and other parts. It is important to use the correct size and type of drill bit to ensure the holes are the correct size.
After you have gathered the necessary tools, you can begin building your V8 engine model kit. It is important to take your time and read the instructions thoroughly before beginning. Following the instructions step by step will ensure that the model kit is assembled correctly.
Building a V8 engine model kit can be a rewarding and educational experience. With the correct tools and a little patience, you will be able to create a detailed, working model of a V8 engine.
Steps to Assemble a V8 Engine Model Kit
Building a V8 engine model kit can be a fun and rewarding experience. However, it is important to carefully follow the instructions to ensure that your engine turns out correctly. Here are the steps you’ll need to take when assembling your model engine:
Step 1: Gather the necessary tools and materials
Before you can assemble a V8 engine metal model kit, you will need to gather the necessary tools and materials. You will need a flat work surface, a hobby knife, tweezers, sandpaper, a small hammer, a drill, and a set of small screwdrivers. Additionally, you will need a set of pliers, a socket wrench set, and several sizes of nuts and bolts.
Step 2: Read the Instructions & Prepare the parts
Before you begin building your engine, it is important to read the instructions thoroughly. This will ensure that you understand all the steps involved in assembling the engine and that you have all the parts you need. And then you need to prepare the parts. Begin by carefully inspecting each piece for any scratches or dents. If there are any, use the sandpaper to smooth them out. Once you have done this, take your hobby knife and carefully remove any excess plastic or metal from the pieces. This will help ensure that the parts fit together properly.
Step 3: Assemble the engine block
The engine block is the foundation of the engine and it is the first part to assemble. Start by laying the engine block flat on the work surface. Carefully align the pieces of the engine block together, ensuring that all the pieces fit together snugly. Once you have done this, use the small hammer and screws to secure the pieces together. Once the engine block is assembled, you can move onto the next step.
Step 4: Assemble the pistons and crankshaft
The next step is to assemble the pistons and crankshaft. Begin by taking the piston pieces and carefully aligning them in the cylinder bores. Use the small screwdriver to secure the piston rings in the groove. Once the pistons are in place, you can attach the crankshaft to the engine block. Take the crankshaft and align it with the engine block. Use the socket wrench to secure the crankshaft in place.

Step 5: Assemble the camshaft
Now that the engine block and crankshaft are in place, you can move onto the camshaft. Take the camshaft pieces and align them with the engine block. Use the small screws to secure the camshaft in place. Once the camshaft is in place, you can attach the timing chain.

Step 6: Assemble the cylinder heads
The next step is to assemble the cylinder heads. Start by carefully aligning the cylinder head pieces with the engine block. Use the nut and bolt to secure the cylinder heads in place. Once the cylinder heads are in place, you can move onto the next step.
Step 7: Assemble the intake and exhaust manifolds
The intake and exhaust manifolds are the next pieces to be assembled. Start by carefully aligning the intake and exhaust manifold pieces with the engine block. Use the nuts and bolts to secure the manifold pieces in place. Once the manifolds are in place, you can move onto the next step.

Step 8: Assemble the carburetor and fuel pump
After the intake and exhaust manifolds are in place, you can begin assembling the carburetor and fuel pump. Start by carefully aligning the carburetor and fuel pump with the engine block. Use the small screws to secure the carburetor and fuel pump in place. Once the carburetor and fuel pump are in place, you can move onto the next step.

Step 9: Assemble the oil pan
The oil pan is the final piece to assemble. Start by carefully aligning the oil pan with the engine block. Use the nuts and bolts to secure the oil pan in place. Once the oil pan is in place, you can move onto the next step.
Step 10: Test and fine-tune the engine
Once all the pieces of the engine are assembled, you can test and fine-tune the engine. Start by filling the oil pan with the appropriate oil and starting the engine. Allow the engine to run for a few minutes to ensure that it is running properly. If the engine is running smoothly, you can fine-tune it by adjusting the timing, carburetor, and fuel pump. Make sure the engine is running properly and that there are no leaks.

Once the engine is running smoothly, you can reassemble the engine bay and enjoy the fruits of your labor. Assembling a V8 engine metal model kit is a rewarding experience, so take your time and enjoy the process. With patience and the right tools, you can build a beautiful engine that will last you for years to come. Sit back and admire your hard work!
Conclusion
Building a V8 engine model kit can be a fun and rewarding experience. However, it is important to do your research before you begin and make sure you have all the necessary tools and parts. Once you have all the necessary tools and just enjoy the engine build.


0 comments